

Custom fields
Add your own fields to every contact, such as City, Budget or Order date, to filter contacts and fill in template messages.
Every contact has a name and a phone number. Custom fields let you keep anything else your business needs on each contact: their city, their budget, the date of their last order, the branch they buy from.
Once a field exists, you can:
- fill it in on each contact,
- filter your contacts by it,
- match a column to it when you import contacts from a CSV file,
- use it to fill in a template message, so each customer gets their own details.
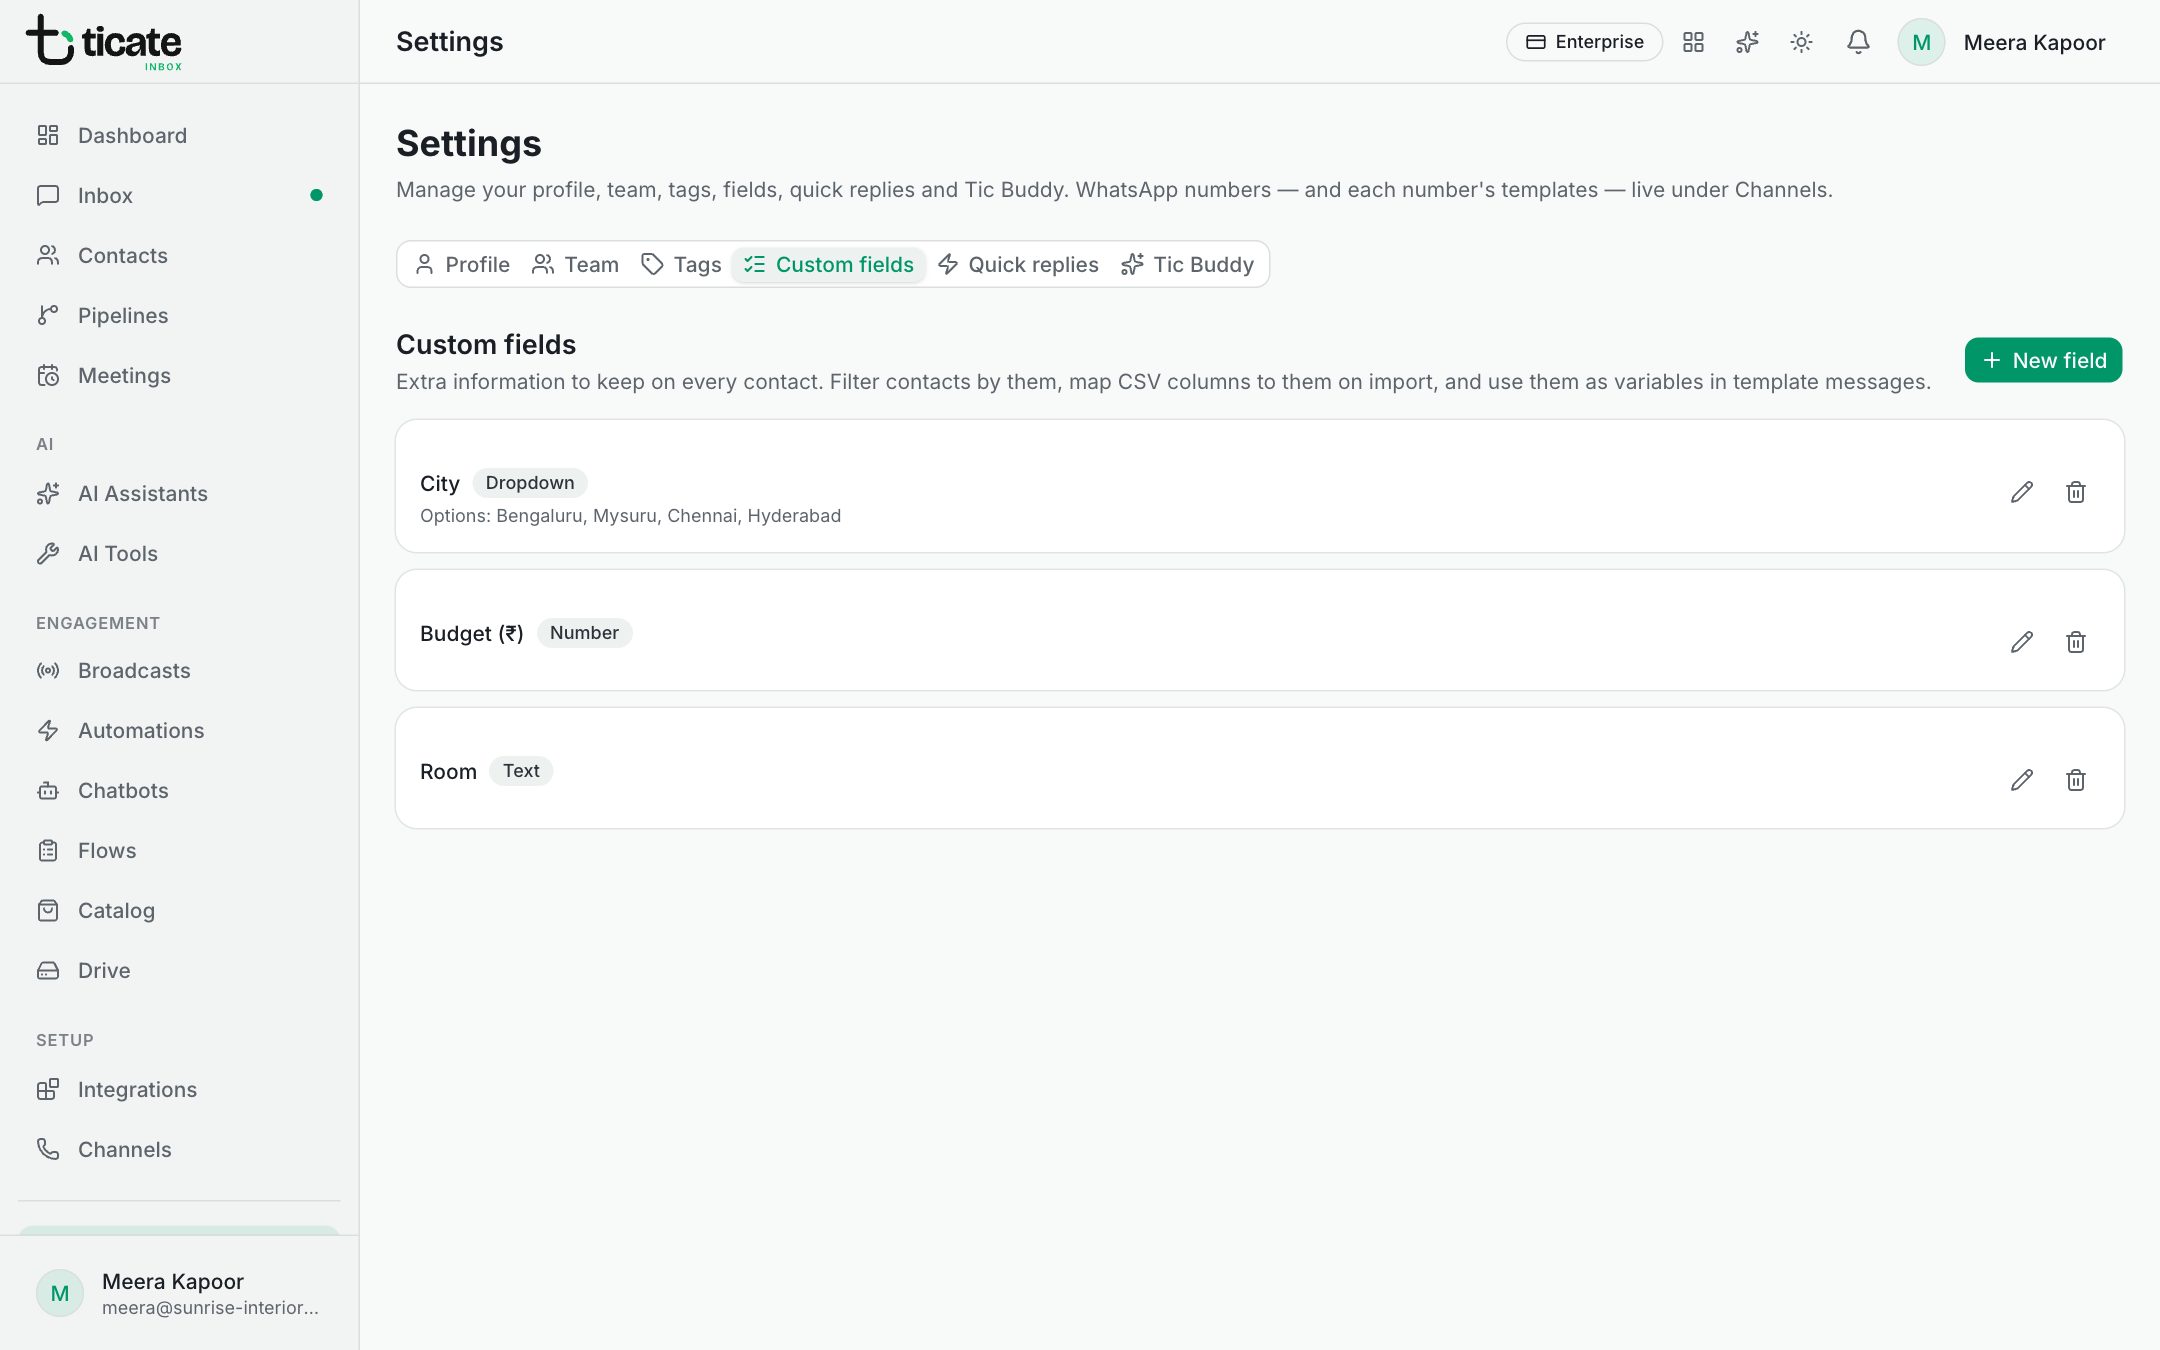
Add a field
- Open Settings and click the Custom fields tab.
- Click New field.
- Type the Field name, for example "City".
- Choose a Type:
- Text: any words, such as an address or a note.
- Number: amounts and counts, such as a budget.
- Date: a day, such as a birthday or an order date.
- Dropdown: one choice from a fixed list. Type the Options, one per line.
- Click Create field.
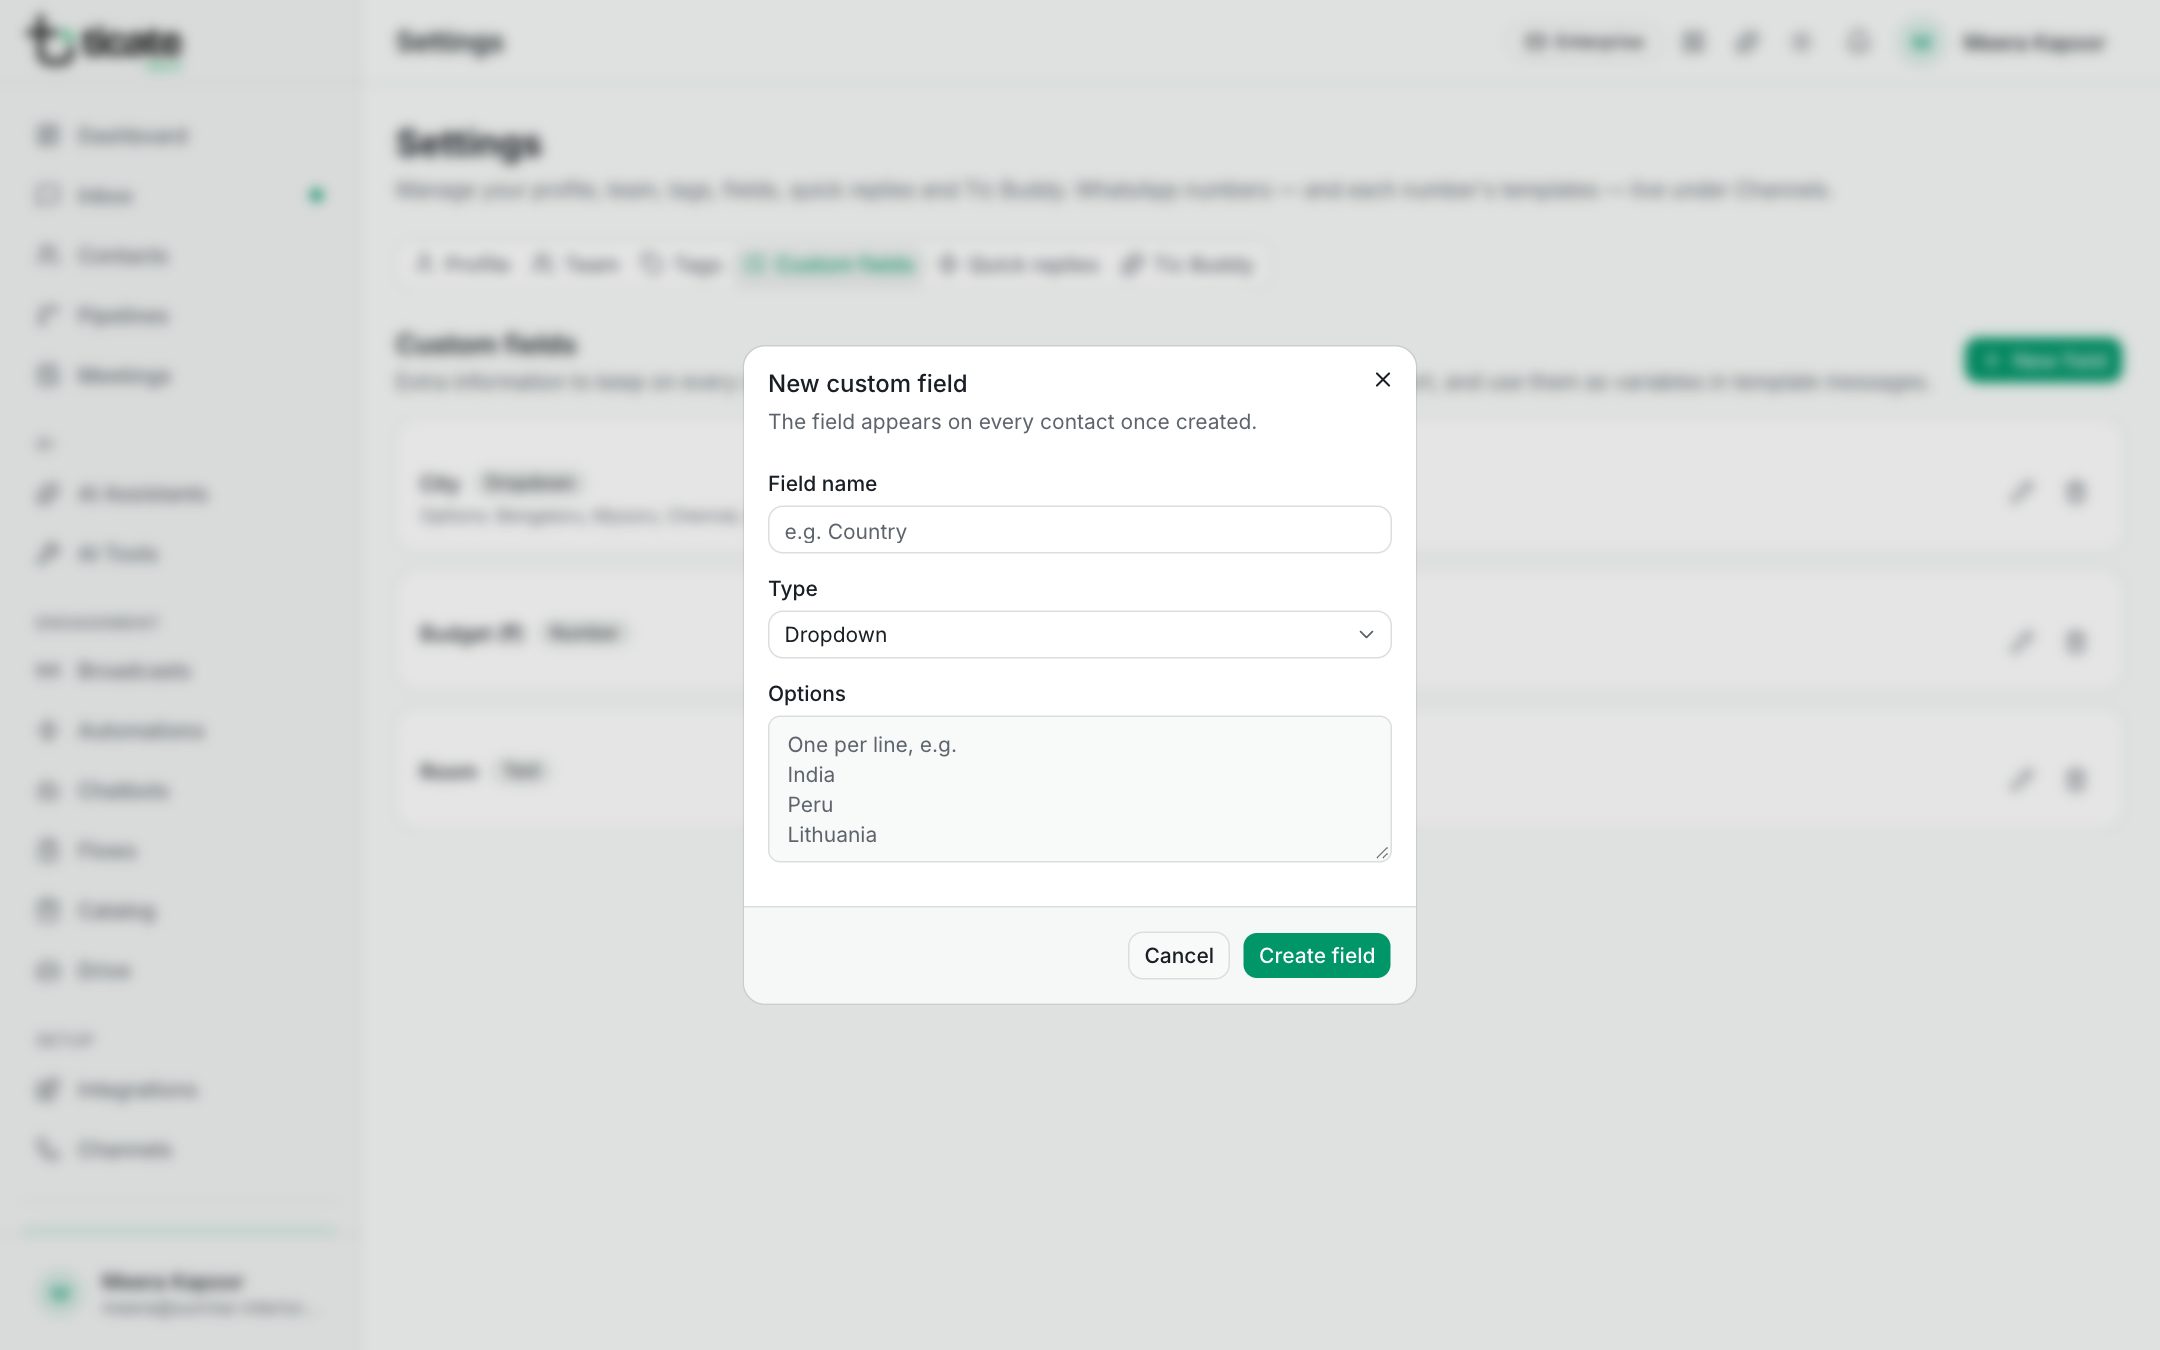
The field appears on every contact straight away. Two fields cannot have the same name.
Adding fields needs the owner, admin or self admin role.
Change or delete a field
Click the pencil beside a field to rename it or change a dropdown's options, then click Save changes. The type cannot be changed once the field is made: to switch from text to a dropdown, create a new field.
Click the bin beside a field, then Delete field, to remove it. The value stored on every contact for that field is deleted too, and this cannot be undone.
Changing and deleting fields needs the owner or admin role.
Fill fields in
Open a contact and type the values in its fields. See Contacts. To fill many contacts at once, import them from a spreadsheet and match each column to a field.